Disassembling the UBZ-LF68
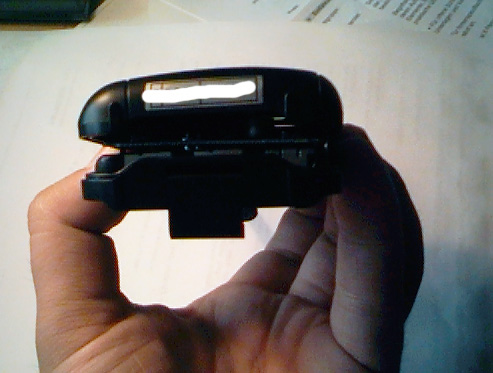
First you have to open the battery door. Remove the 4 screws you will find under the batteries. They are not secured in any special way. Now you can open your little baby from the downside by removing the upper part.
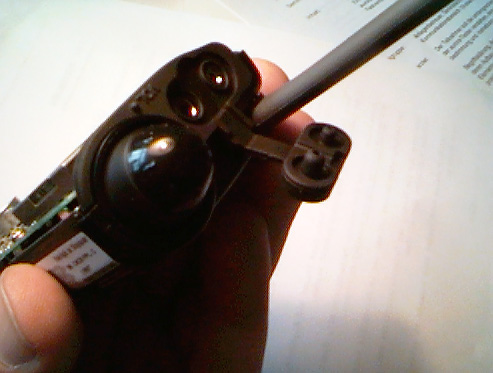
Please take care for the little plastic noses on the top. You should see something like this.

If anyone has made some experience with those little contact fields marked "Write" and "Test", please let me know!
Before removing the mainboard screws you need to remove the knob screw on the top.
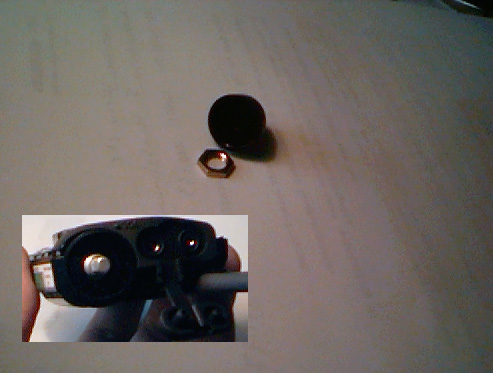
Remove the knob by carefully lifting it with some small screwdriver (the plastic is not that hard).
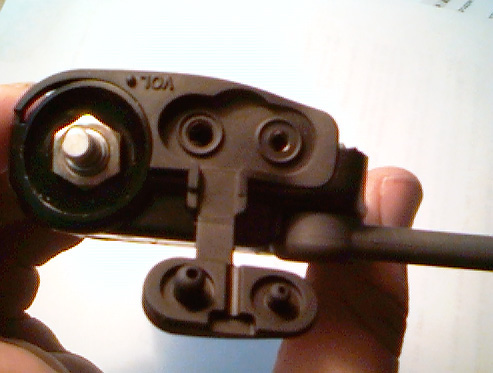
This thing should be easy to remove.
After removing the mainboard screws, you should be able to lift the mainboard out of the enclosure.

All the HF-Stuff is on the little piggy-back board on the mainboard.

To have a closer look on this little wonder, you have to take care for the little noses from the shielding material on both sides. The HF board is attached by an multi-pin contact to the mainboard.
If you decide, that you love your Kenwood waranty or fear your two left thumbs, you might have a look on the closer inspection.